
Painting Kitchen Cabinets the Right Way: Prep, Primer, and Paint That Lasts
By Tovah Hommes, Sales Representative, Jennifer Gale Team, Gale Group Realty Brokerage
Painting Kitchen Cabinets: The Proper Process (And Why Prep Matters More Than Paint)
If you’ve ever looked at your kitchen cabinets and thought “they’re in great shape… they’re just ugly” - you’re not alone.
Many kitchens have cabinets that are structurally solid but look dated due to colour, wear, or a tired early-2000s finish. The good news? You don’t need to replace them to get a dramatic transformation. Painting kitchen cabinets can completely modernize a space for a fraction of the cost of a full renovation - but only if it’s done properly.
The #1 difference between cabinets that look professionally done vs. cabinets that start chipping after a few months?
Prep.
Let’s walk through the proper process for painting kitchen cabinets the right way.
Step 1: Clean Like It Matters (Because It Does)
Kitchen cabinets collect more than dust — they collect:
cooking oils
grease buildup
fingerprints
residue from cleaning products
Even if cabinets look clean, grease can still be sitting on the surface. And paint does not like grease.
If there's grease, use a degreaser
This is where a quality degreaser is essential. Degreasing helps strip away oils so your primer can properly bond.
Important: Degreasers can leave their own residue behind if not rinsed correctly.
✅ Pro tip: After degreasing, thoroughly wash/rinse the cabinets with clean water and wipe them down until there is zero residue left.
If any degreaser remains, the primer may not adhere properly and can lead to peeling or bubbling later.
Step 2: Sanding + Dust Removal (Don’t Skip This)
Even if you’re using great primer and paint, the surface needs “tooth” for the product to stick.
Lightly sand cabinet faces and doors
Focus on smooth finishes or glossy cabinetry
Vacuum dust from crevices
Wipe down thoroughly
If dust is left behind, it’ll show up in the paint finish — and can also affect adhesion.
Step 3: Prime Properly (This is Non-Negotiable)
Priming is where the magic happens. A high-quality primer creates the foundation that locks everything in and prevents future chipping.
One primer I love and recommend is:
⭐ STIX Primer
STIX is known for excellent adhesion, which is exactly what cabinets need — especially if they’ve previously been coated or have a slick finish.
Apply an even coat and allow it to cure properly.
✅ Minimum dry time recommendation:
Wait at least 24 hours after priming before applying paint coats.
This waiting time matters because primer needs time to fully bond and harden. Painting too soon can trap moisture and create a weaker finish.
Step 4: Paint With Quality Products (Benjamin Moore Is Worth It)
Once the prep work is done, the paint becomes the fun part — and it’s where the transformation starts to show.
For cabinets, I strongly recommend using a premium paint such as Benjamin Moore, because cabinetry needs:
durability
a smooth finish
washable performance
resistance to scuffs and wear
Kitchen cabinets take daily abuse — hands, bumps, cleaning, moisture — and cheaper paints often can’t hold up long term.
Apply multiple thin coats rather than one heavy coat. This helps the finish look cleaner, smoother, and more professional.
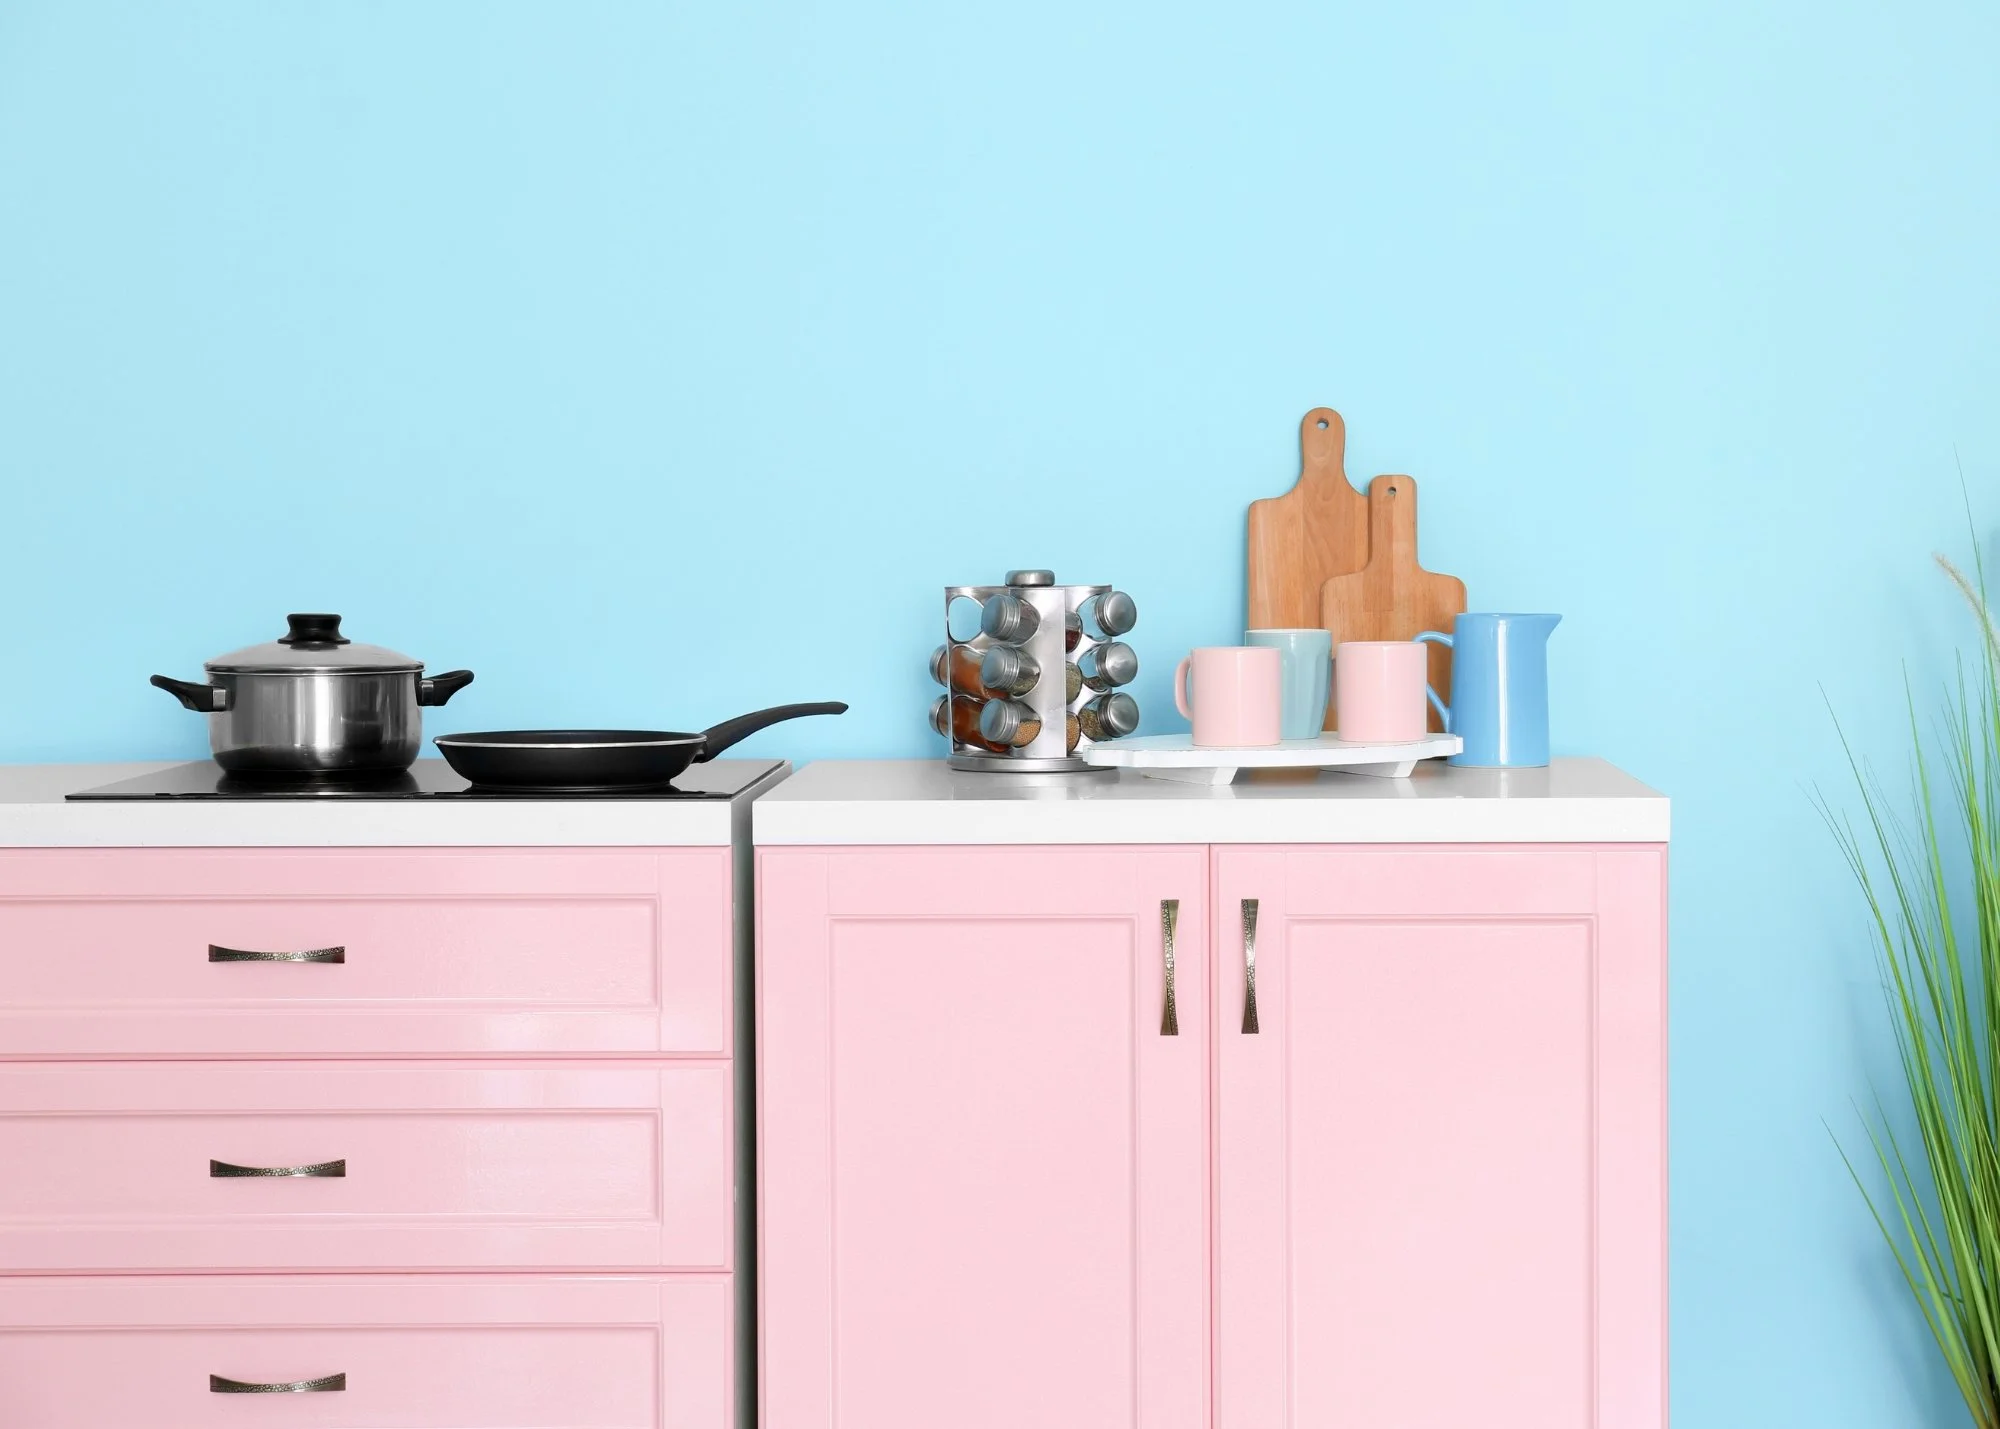
The Difference Painted Cabinets Can Make
Painting cabinets can completely change the vibe of a home:
✅ brightens and modernizes the kitchen
✅ gives a “new kitchen” look without new kitchen costs
✅ updates dated wood tones and old finishes
✅ makes the space feel cleaner and more current
✅ adds value and improves first impressions
Whether you’re updating your own home for enjoyment, preparing a property for rent, or getting ready to list for sale, cabinet painting is one of the smartest upgrades you can make.
Final Thoughts: The Finish Is Only as Good as the Prep
If you take only one thing away from this — let it be this:
Painting cabinets isn’t hard, but painting them properly requires patience and process.
Cleaning thoroughly, degreasing properly, rinsing completely, priming with an excellent product like STIX, and waiting at least 24 hours before paint coats makes all the difference between:
a cheap “DIY look”
a durable, professional finish you’ll love for years

Tovah Hommes is a licensed Real Estate Agent in Ontario with over 10 years of experience in real estate investing and property management throughout Woodstock and Oxford County. Known for her professionalism and deep understanding of the local rental market, Tovah helps clients and investors create lasting value through efficient property management and smart real estate strategies.
Tovah Hommes
Sales Representative
The Jennifer Gale Team
Gale Group Realty Brokerage Ltd.
(519) 614-4568